
Counted Cross Stitch has been my leisure activity for many, many years. I’ve done every type of project from baby birth announcements to my latest finished project. Some have been simple, but this latest one was very complex. But the end result was worth the year’s worth of evenings I spent on it. Here is a picture of it when I finished the stitching.
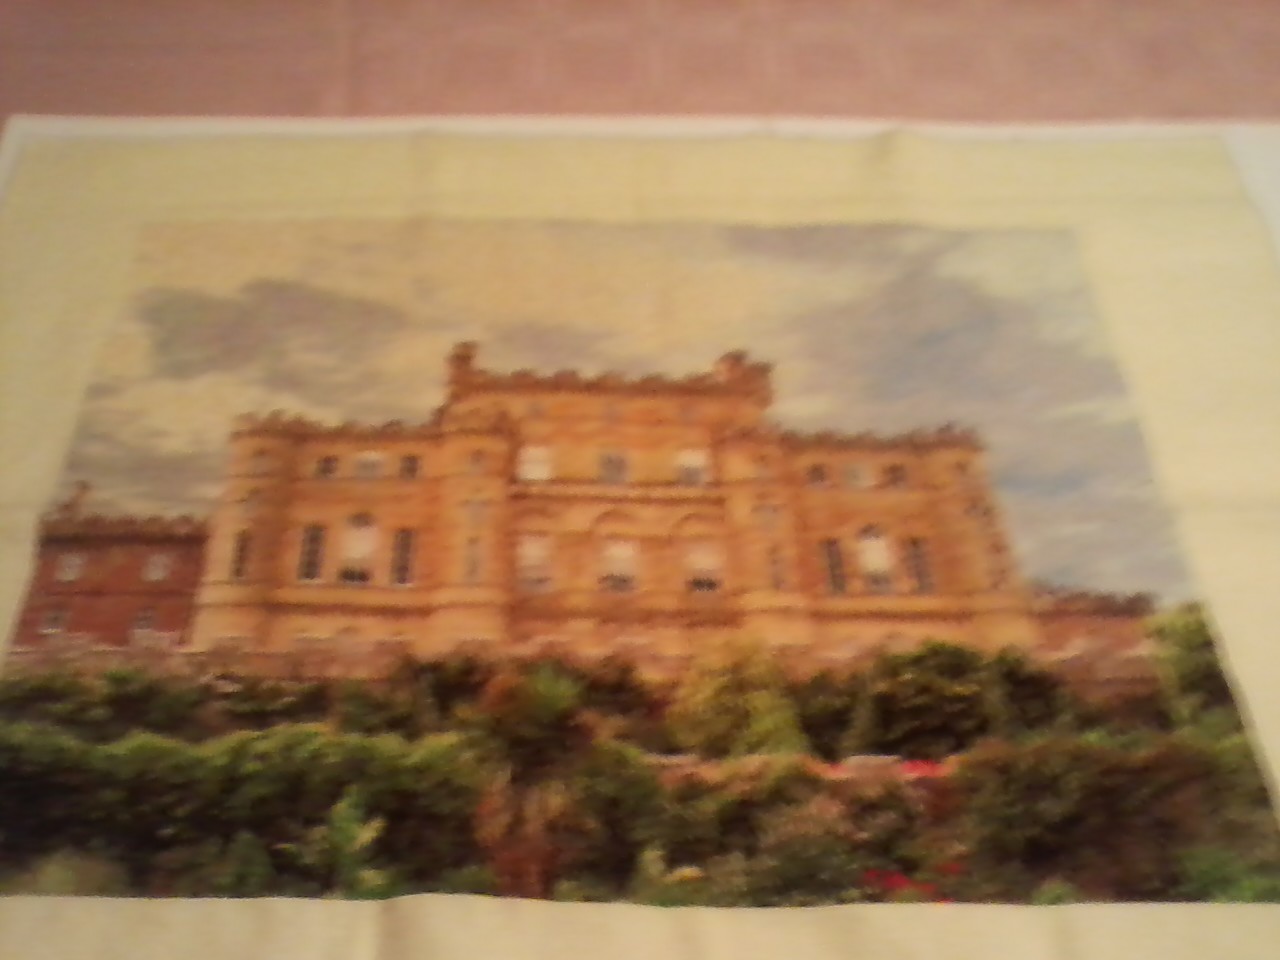
When I say “year long” project. It was all of that. I had promised my friend that I would make him a picture of a Scottish castle. Little did I know when I finally found the pattern that it would be 29 8×10 pages of instruction. And it had 140 different colored threads.
When I first received the pattern and saw the complexity, I almost didn’t even start it. Because it just looked too complicated, but I decided to try it. I’m glad I did. By first marking the Aida fabric with gridding thread, I started the first page. Then by taking each page and each 10 row square at a time, I was able to stay on track and keep going.
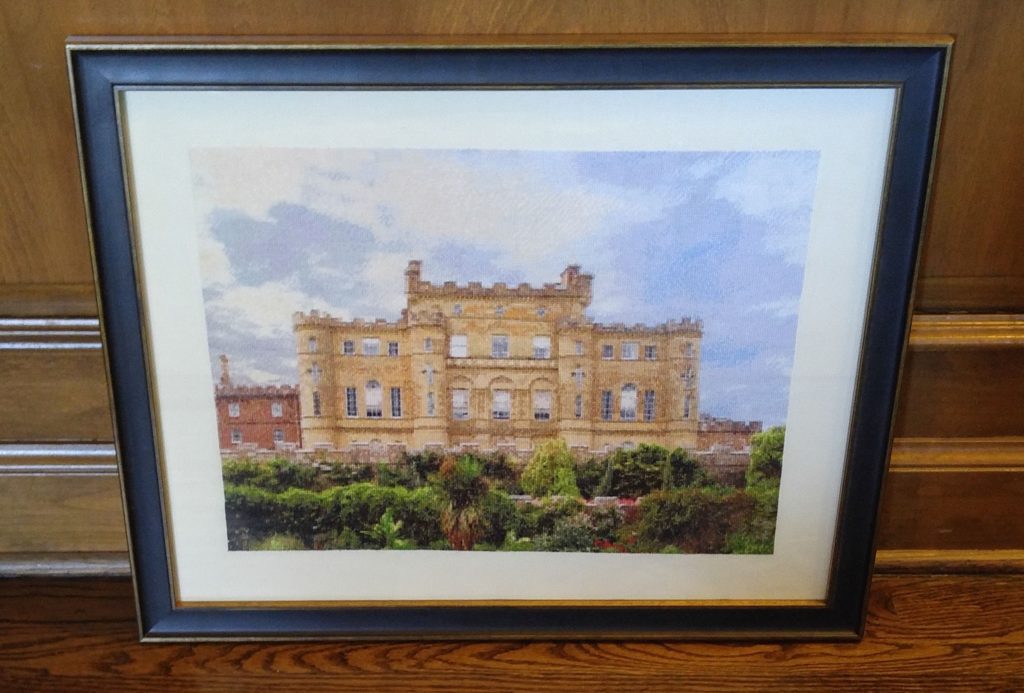
It is not a project that I would recommend for a beginner. But when you see the final result below, I think you may be tempted to try it, if you have done this type of stitching before.
My Finished Counted Cross Stitch Project
For an interested beginner, there is instructions on youtube.com on how to do counted cross stitch. Enter in “counted cross stitch for beginners” in the Search bar there.
You will find there are hundreds of patterns for everything. Just Google “counted cross stitch” and you will find the many places that sell them. My usual choices are The Stitchery and Herrschners. The castle pattern was from an independent designer found by searching the Internet.
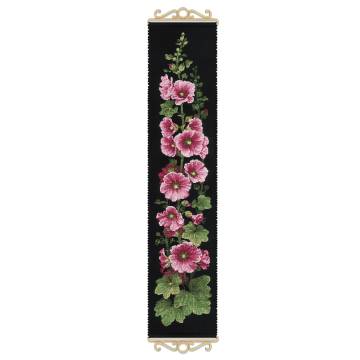
My current project is a bell pull with hollyhocks on it on BLACK Aida cloth. It is being stitched with fine wool, which I have never worked with before. I decided to do something for myself for a change.
Want to learn counted cross stitch?
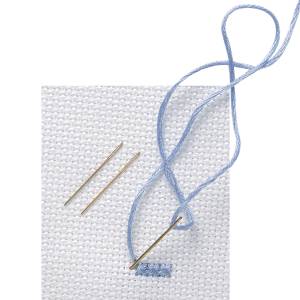
Counted cross stitch is usually worked on even-weaved fabric. And the most popular fabric used is Aida cloth. With the even-weave of that fabric, it is easy to see the “squares” formed by the crossing weaved threads. The stitches are made by inserting the needle from behind into the lower left corner of the “square”. The thread is pulled up thru that hole and passed across the square to the top right-most corner and pushing the needle down thru that opening. That forms 1/2 of the cross-stitch. To complete the cross, the needle is brought up (from behind) in the lower right corner and the thread is passed across the top to the top left corner, passing the needle down through that opening.
If on the pattern there are several stitches of the same color adjacent, the sewing pattern may be altered to do all the 1/2 cross-stitches over several squares before returning in the opposite direction to complete those squares.
The Pattern
The pattern is printed on usually an 8-1/2 x 10″ graph paper. Each square on the pattern represents one stitch. These squares are coded either with color or a symbol. These symbols are cross-reference on your pattern sheet either at the side or bottom or sometimes on a separate sheet. Each color or symbol are cross-referenced to a color of thread. Typically the thread used is DMC embroidery thread. However, as in the case of my bell pull, light wool may also be used. And sometimes even silk. In all cases, the various colors of the thread are cross-referenced to the pattern square.
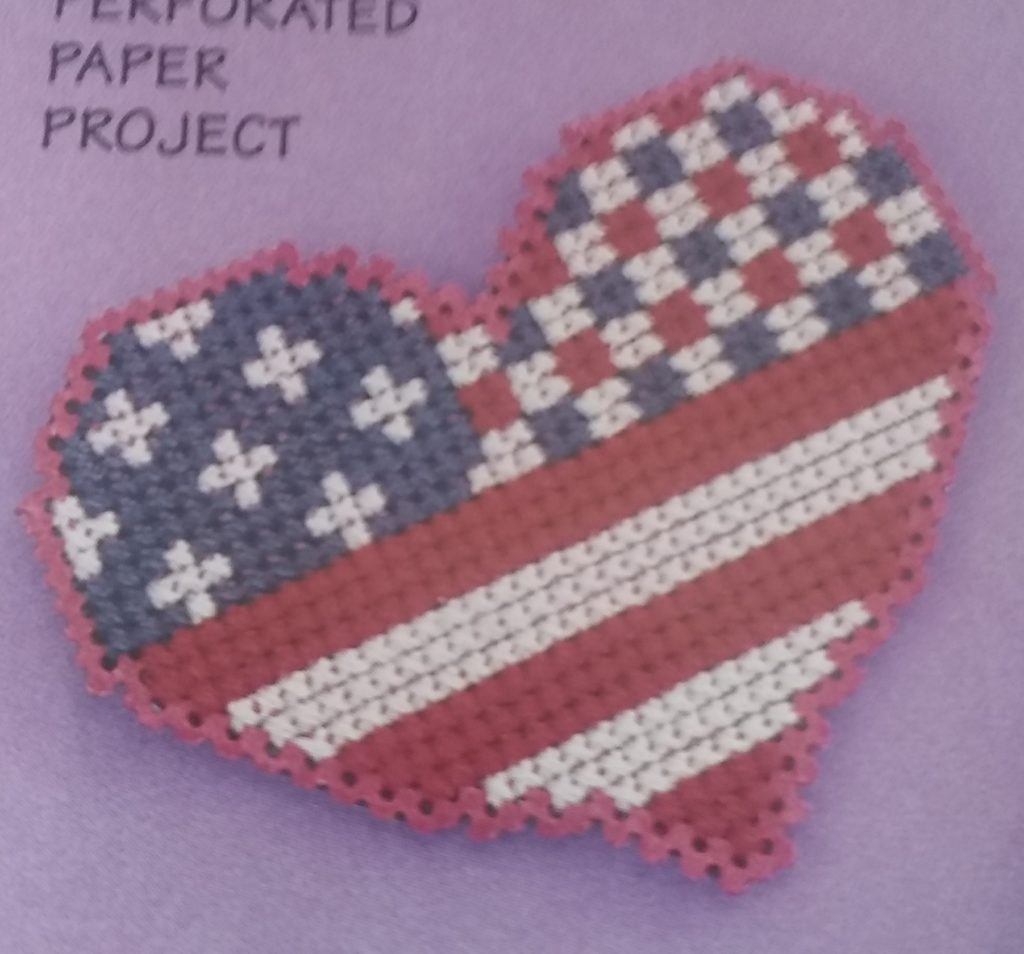
Here is a small heart pattern with a USA motif. This pattern would be ideal for a waste canvas project (see below). Put it on a white tee shirt maybe.
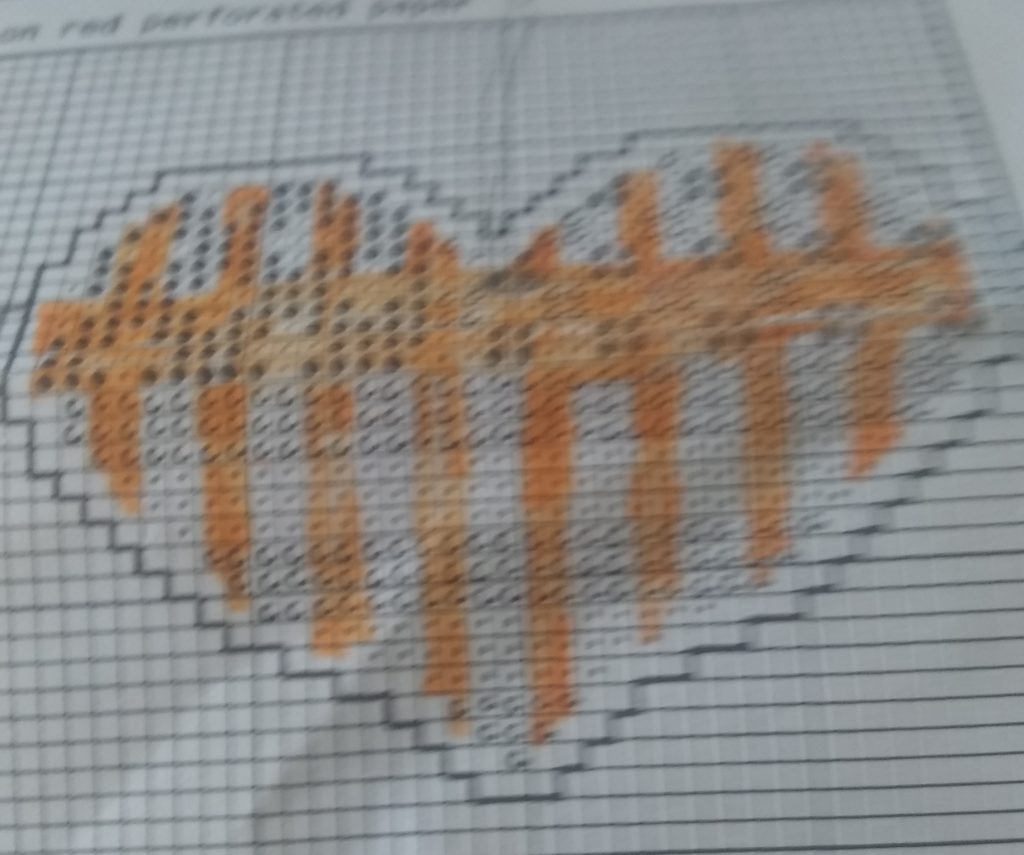
The pattern shown on the graph paper. There are three colors – the heavy black dots should be blue, the lighter dots are white, and the squares marked with the letter “C” are red. I don’t know why this pattern has the orange stripes on it — just ignore them. If you are stitching this on a white garment you might want to substitute a light ecru for the white so the stitches show up on the white fabric.
Making a picture
The obvious point to start would be in the upper left hand corner, however, most project begin in the MIDDLE and work outward from there. To find the middle, fold your fabric in half lengthwise and then width-wise. Mark that point by making a proper colored stitch in that square. The pattern sheet will be marked with arrows along the top and down the side to allow you to find the MIDDLE of the pattern.
Why start in the middle – so your finished product will be evenly spaced on the fabric. The design probably will not fill the entire piece of fabric and the edges will allow for fitting the piece into a frame.
Other types of projects
Besides just making a picture for framing, counted-cross stitch can be used to make decorations on towel, blankets, baby bibs and similar items. You can even put a counted cross-stitch design on a T-shirt by using what is called “waste canvas”.

Waste Canvas – All canvas and other fabrics come in an array of “block” sizes. For waste canvas a 10 or 12 count is usually my choice. Twelve stitches per inch. It is easier to pull the canvas from the finished design. The “count” will affect the size of the design. Also the higher the numbers the smaller the stitches – harder to see and work on. For most projects a 14 or 16 count is desirable.
Working with Waste Canvas
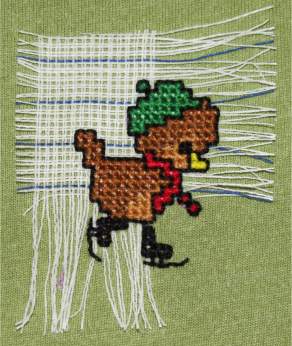
Waste Canvas can be purchase in the needlework section of the store. The “waste canvas” is pinned or tacked onto the T-shirt in the desired location. (If you are doing a small project like the one above, cut just a small piece of fabric big enough to cover the pattern plus an additional inch.) The canvas is placed on the top side of the garment. Then the cross-stitching is done through both the garment fabric and the waste canvas.
Also, a sharp pointed needle (rather than the usual dull point) might be needed for working on some fabrics. Finally, when the design is finished, the area is moistened, which causes the waste canvas to become slippery. It can then be pulled out through the stitches leaving just the cross stitching on the garment. Smaller designs work best with this type of project, as it is more difficult to remove the waste canvas if the design is large.
Removing the waste canvas. Raid your cosmetic case for a pair of tweezers to do this.
Waste canvas is made up of woven threads that are held together with a type of starch, which dissolves when wet.
Lightly sprinkle the area and begin pulling the threads.
I really love putting little designs with the waste canvas on my shirts. And I also like making hand towels, which you can buy with the Aida inset, for gifts. Because they are always so appreciated. Also, any hand made gift is always welcomed. So many people do crochet items, so the counted-cross stitch ones are more unique. And, if I am really ambitious, I sometimes make inserts for my Christmas cards, which can be used later as ornaments.
